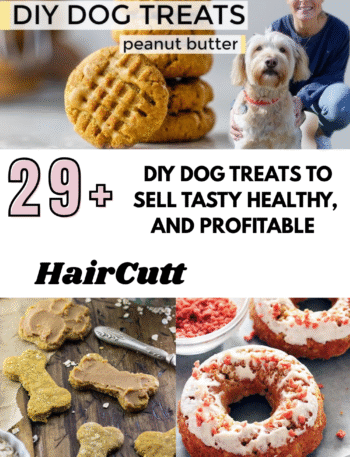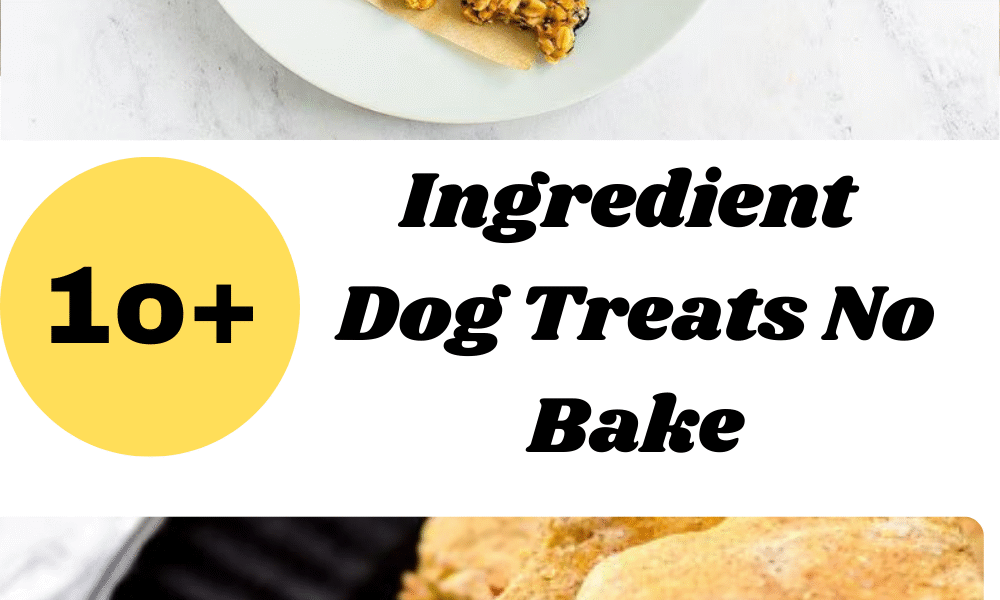
Homemade dog treats are one of the easiest ways to show your furry friend how much you care. And when it comes to convenience, nothing beats 10 ingredient dog treats no bake with peanut butter. They’re quick, healthy, and budget-friendly—plus, they require no oven time.
Whether you’re a busy pet parent, a first-time treat maker, or simply looking for healthier alternatives to store-bought snacks, this guide covers everything you need to know in 2025.
In this expert-written guide, we’ll cover:
- Why no-bake treats matter for dogs’ health
- The safest peanut butter to use
- Step-by-step instructions
- Storage, frequency, and safety tips
- Common mistakes to avoid
- FAQs answered by pet experts
Why Choose 10 Ingredient No-Bake Dog Treats?
Making your own dog treats at home comes with several advantages:
- Healthier Ingredients: You control what goes inside—no artificial preservatives, additives, or fillers.
- Time-Saving: No-bake recipes can be made in under 10 minutes.
- Budget-Friendly: Homemade treats are often cheaper than premium store-bought options.
- Tailored Nutrition: You can adjust portion size or ingredients depending on your dog’s age, breed, or dietary needs.
- Bonding Experience: Dogs love helping in the kitchen (especially taste-testing).
The 10 Core Ingredients You’ll Need
Here’s the base for 3 ingredient dog treats with peanut butter (no bake):
- Peanut Butter (Unsalted, Xylitol-Free)
- Look for peanut butter with only peanuts (and possibly a little salt).
- Avoid xylitol—it’s toxic to dogs.
- Rolled Oats or Oat Flour
- Provides fiber and helps bind the treats.
- Great for sensitive stomachs compared to wheat flour.
- Banana or Pumpkin Puree
- Natural sweetness and added vitamins.
- Acts as a softener and binder.
These three ingredients create a safe, delicious, and nutrient-rich treat that most dogs can enjoy.
Tools You’ll Need
- Mixing bowl
- Fork or potato masher
- Measuring cups/spoons
- Parchment paper
- Airtight container (for storage)
Optional:
- Cookie cutters for fun shapes
- Food processor (for smoother texture)
Step-by-Step Recipe: 10 Ingredient Dog Treats (No Bake, Peanut Butter)
Here’s a vet-approved recipe you can prepare in minutes:
Ingredients:
- 1 ripe banana (or ½ cup pumpkin puree)
- ½ cup natural peanut butter (xylitol-free)
- 1 ½ cups rolled oats (or oat flour)
Instructions:
- Mash Banana
- In a mixing bowl, mash the banana until smooth.
- Mix Peanut Butter
- Stir in peanut butter until fully combined.
- Add Oats
- Slowly fold in oats (or pulse in a processor for smoother dough).
- Shape Treats
- Roll into small balls or flatten into discs.
- Use cookie cutters for fun shapes.
- Chill
- Place on parchment paper and refrigerate for 30–60 minutes.
- Serve & Store
- Give your pup a taste test!
- Store in an airtight container in the fridge (lasts up to 7 days).
Variations You Can Try
- Pumpkin Spice: Swap banana with pumpkin puree.
- Berry Boost: Add mashed blueberries.
- Crunchy Version: Mix in crushed dog-safe biscuits.
- Frozen Summer Treats: Freeze dough balls for a refreshing snack.
How Often Should You Give No-Bake Peanut Butter Treats?
- Small Dogs: 1–2 small treats per day
- Medium Dogs: 2–3 treats per day
- Large Dogs: 3–4 treats per day
💡 Treats should make up no more than 10% of your dog’s daily calories.
Safety Notes & Warnings
- Avoid Xylitol: Always check peanut butter labels—xylitol is deadly to dogs.
- Allergies: Some dogs may have peanut or grain sensitivities. Test with small amounts.
- Moderation: Too many treats may cause weight gain or upset stomach.
- Storage: Always refrigerate to avoid spoilage.
Pro Tips for Best Results
- Use ripe bananas for natural sweetness.
- If dough is too sticky, add more oats.
- For picky eaters, drizzle a little honey (safe in small amounts).
- Make mini bite-sized pieces for training rewards.
- Freeze extras for up to 2 months.
Common Mistakes to Avoid
- Using Peanut Butter with Xylitol – Always double-check the label.
- Skipping Refrigeration – Treats may spoil if left out too long.
- Overfeeding – Even healthy treats add calories.
- Using Raw Dough with Wheat Flour – Stick to oats for safety.
- Not Testing First – Introduce slowly to check for allergies.
Quick Checklist (Summary Table)
| Step | Ingredient/Action | Notes |
|---|---|---|
| 1 | Mash banana/pumpkin | Acts as binder |
| 2 | Add peanut butter | Must be xylitol-free |
| 3 | Mix oats | Adjust for texture |
| 4 | Shape treats | Fun shapes optional |
| 5 | Refrigerate | 30–60 minutes |
| 6 | Store properly | Fridge: 7 days, Freezer: 2 months |
FAQs About 10 Ingredient No-Bake Dog Treats
1. Can I use crunchy peanut butter?
Yes! Crunchy peanut butter adds extra texture, but ensure it’s natural and xylitol-free.
2. Are these treats safe for puppies?
Yes, but introduce slowly and in small amounts. Puppies under 12 weeks should stick to soft, small portions.
3. Can I freeze the treats?
Absolutely. Store in freezer bags for up to 2 months. Thaw before serving or give frozen in summer.
4. What if my dog is allergic to peanuts?
Swap peanut butter with unsweetened sunflower seed butter or pumpkin puree.
5. How do I make these treats harder/longer-lasting?
Roll thinner and refrigerate longer, or freeze for a crunchier bite.
Final Thoughts
10 ingredient dog treats no bake with peanut butter are one of the simplest, healthiest, and most fun ways to spoil your pup in 2025. They require no baking, minimal prep time, and deliver maximum tail wags. By using wholesome ingredients like peanut butter, oats, and banana or pumpkin, you’re creating a snack that’s not only delicious but also nourishing.
Homemade treats allow you to bond with your dog, avoid harmful additives, and save money—all while ensuring your best friend gets the love they deserve. Try this recipe today, and you’ll never look at store-bought treats the same way again.